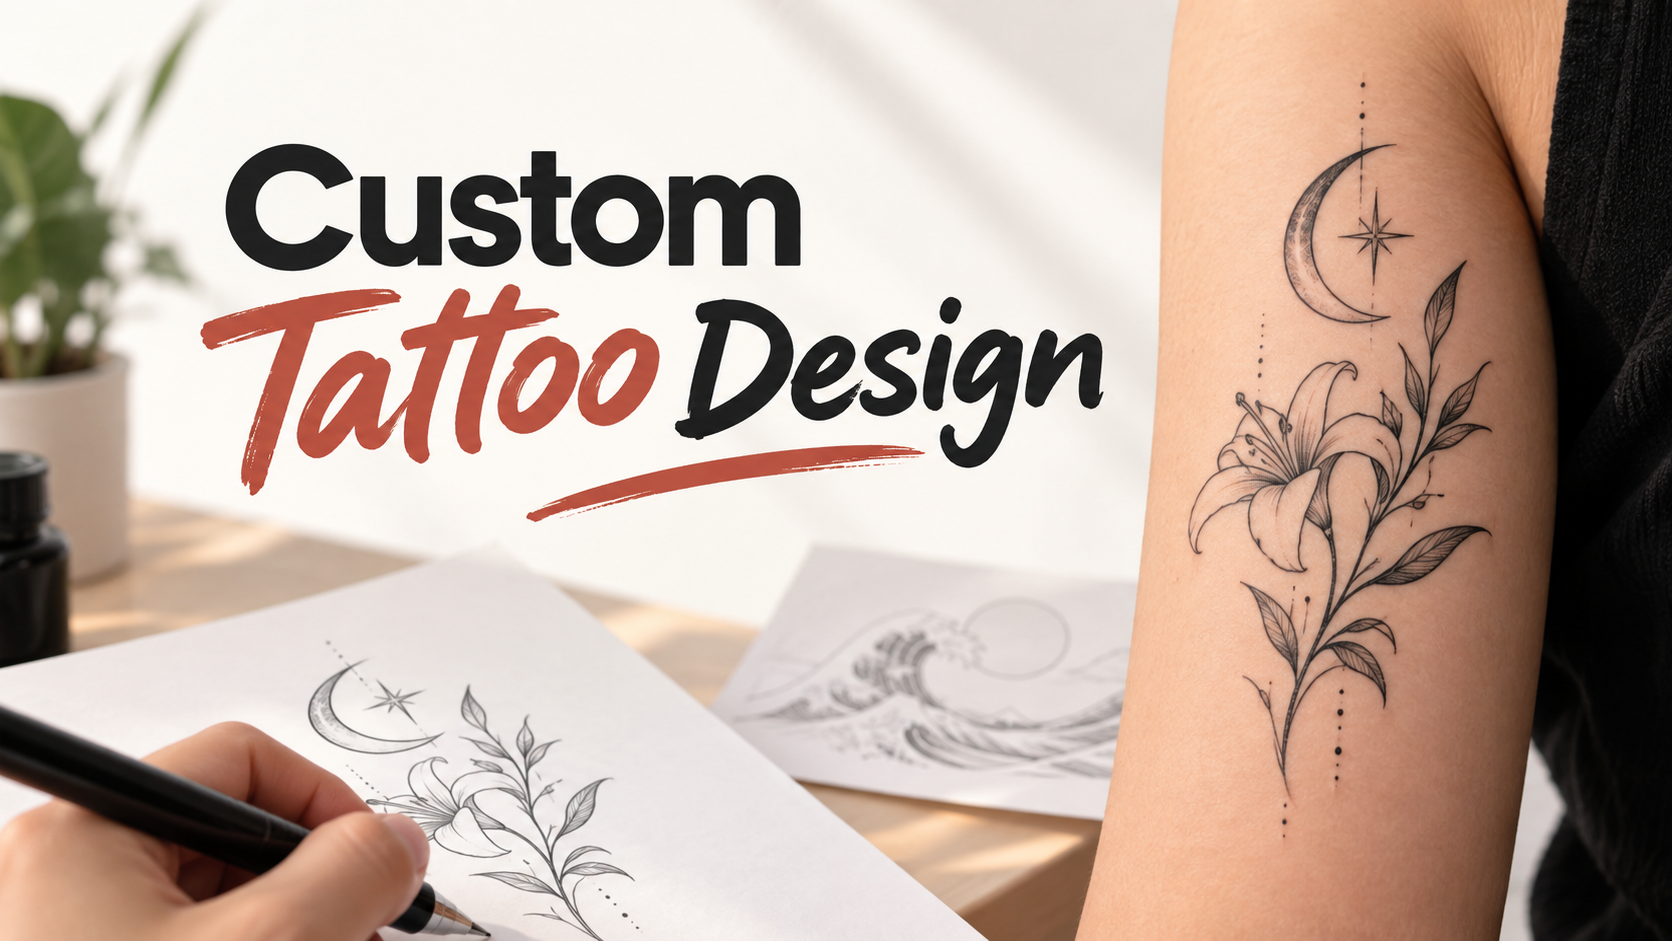
Custom Tattoo Design: Brief, Concepts & Artist Collaboration

By Olivia Hart
MyClaw Editorial
MyClaw
Run Best-in-Class AI Agents Now
Run OpenClaw or Hermes Agent on managed MyClaw hosting, so your AI agent stays online, updated, and ready for real work.
AI Takeaway
- What is custom tattoo design? Custom work is redrawn for your body, story, and aging needs—not a pre-drawn flash sheet chosen as-is. The goal is a wearable composition, not a screen-perfect picture.
- What belongs in a custom design brief? Subject, style, exact placement and side, approximate size, color or black-and-grey, must-keep elements, exclusions, and a few labeled references—not a folder of near-clones.
- Can you design your own custom tattoo? Yes as a concept path: sketch or generate flat ideas, then let an artist rebuild line weight, spacing, and the stencil for skin. Your drawing is a brief, not final ink.
- How do you collaborate without losing the idea? Approve direction in one or two focused revision rounds, check the stencil on your body for size and flow, and leave technical calls to the artist.
- Can MyClaw help before you book? Optionally explore a few flat concepts in MyClaw’s Tattoo Generator, then take clear favorites to an artist for the real redraw—not a ready stencil.
What Custom Tattoo Design Actually Means
Custom tattoo design is an artist’s redraw of an idea for your body, story, placement, and long-term readability—not a screen image copied as-is. Flash is pre-drawn and usually chosen as shown; custom work adapts the composition to your anatomy and priorities. Choose custom for a personal symbol, cover-up, unusual placement, or a piece that connects to existing tattoos. Flash may be enough for a classic motif on a clean canvas. Inspiration is not wearable design: saved images and AI mocks show direction, but they do not prove size, flow, line weight, or aging. For idea-hunting, see the random tattoo ideas guide.

Build a Clear Custom Design Brief
Fields That Make Custom Tattoo Designs Easier to Draw
A strong brief turns vague taste into drawable decisions. Fill these fields before you message a shop or open a sketch pad:
- Subject plus supporting elements in one sentence
- Style family (traditional, fine-line, blackwork, neo-trad, realism, and similar)
- Exact placement, side, and orientation when you are standing
- Approximate height × width in centimeters or inches—not “medium”
- Color versus black-and-grey
- Must-keep elements (two or three non-negotiables)
- Must-avoid exclusions and clutter you refuse
- Existing tattoos, scars, or cover-up notes in the area
- Three to five references with labels (“line weight here,” “contrast here”) plus one anti-reference
That checklist is how custom tattoo designs get drawn cleanly: the artist sees constraints, not a mood dump. Vague requests force guesswork; specific fields leave room for craft without erasing your intent. Write the brief once, then reuse it for inquiry emails, consult notes, and any concept tools you try—so the story does not drift between channels. If you cannot yet name a must-keep, say so; honesty about uncertainty beats inventing rules you will abandon after the first sketch. Shops also scan for fit: a brief that names size and side early signals you are ready for custom design tattoos, not browsing flash.
References That Help Instead of Locking a Copy
Prefer references that show subject, style, and placement energy over “copy this finished tattoo.” Mark what you like—silhouette, contrast, negative space—and give the artist room to redesign for body flow. If a symbol carries cultural weight, or lettering must be spelled a certain way, verify before you attach the file. Dual-read or mirrored lettering is a niche of its own; when the brief includes that kind of text, the ambigram tattoo generator online free post is a useful side path without turning this page into a lettering catalog. One anti-reference helps too: showing what you refuse (busy backgrounds, ultra-thin hairlines, crowded banners) prevents polite redesigns that still miss your taste. Keep the pack small—five sharp, labeled images beat twenty near-duplicates that only differ by a flourish.
How to Design Your Own Custom Tattoo Concepts
Sketch or Generate Flat Concepts First
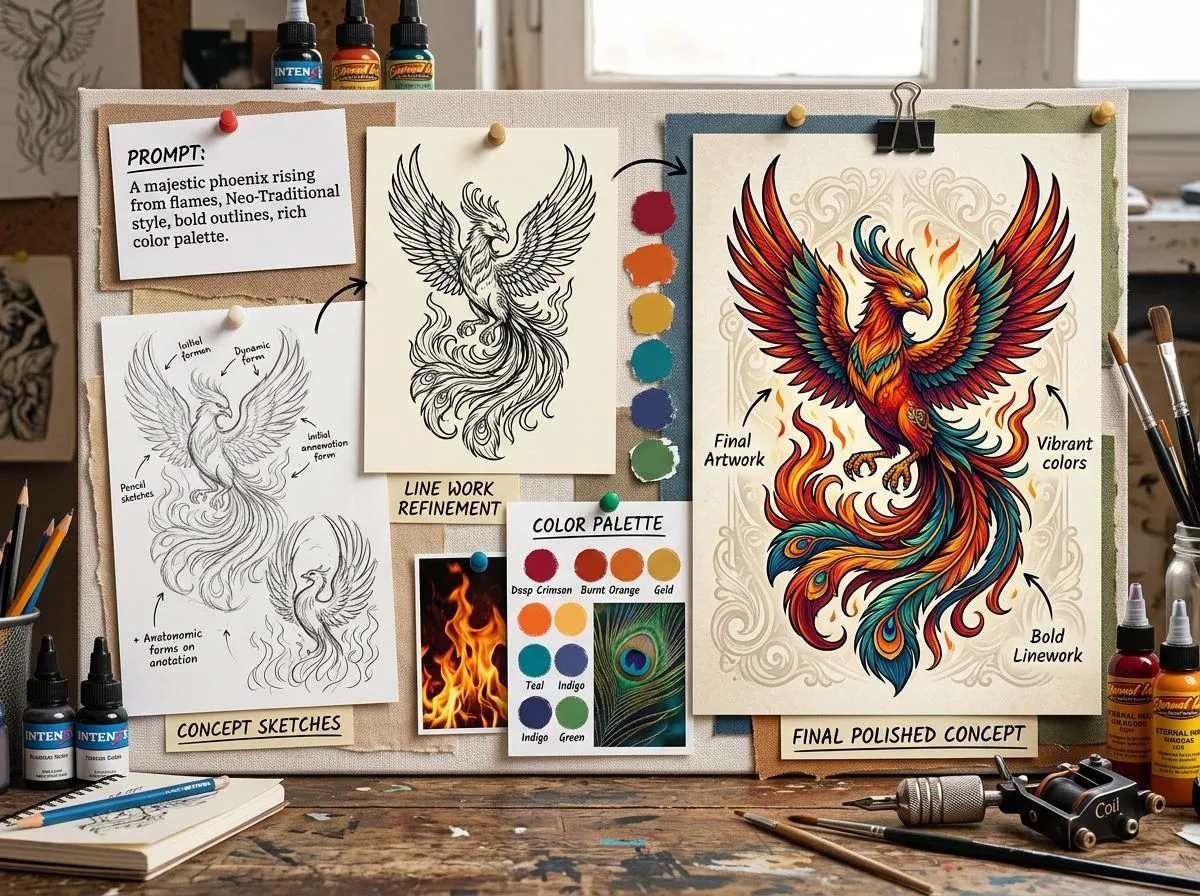
Learning how to design your own custom tattoo starts with flat concepts, not a finished stencil. Sketch by hand or generate flat art on a plain background before any skin mockup. Put size, orientation, and negative space in the same note as the motif. Change one variable per iteration—motif, style, or placement—so you can tell what improved.
Generative tools are concept aids, not ink substitutes. The image generator hub is a wider creative map, and Gemini AI tattoo generator can clarify model temperament for concept sketching. Keep outputs flat and labeled; an artist still rebuilds line weight, spacing, and the stencil for your body. If a mock only looks good draped on a rendered arm, strip it back to flat art and judge the shape again. Treat every saved file as a conversation starter: filename, size note, and what must stay blank travel with the image so the idea does not get lost in a camera roll.
Filter Concepts for Size, Flow, and Aging
Squint or view each option thumbnail-small. Drop micro-detail that muddies at tattoo scale. Prefer a strong silhouette and durable line weight over dense texture that only works zoomed in. Placement changes the story: a piece that feels private on the rib can feel loud on a hand, and a wrap behaves differently from a flat panel. Filter until two contrasting directions remain—then stop collecting clones. Aging is part of the filter: ask whether the outer contour still reads after soft edges heal and after years of wear, not only whether the first healed photo looks sharp. When two options feel equal, prefer the one with more breathing room at joints and creases; comfort and flow usually outlast the denser “wow” on a phone screen.
Collaborate with an Artist Without Losing Your Vision
Consultation, Revisions, and the Stencil Check
A typical custom path runs inquiry → consultation → design development → one or two focused revision rounds → stencil on the body → session. Bring the brief early so the first sketch already respects size, side, and must-keeps. Give actionable feedback (“bolder outer line,” “more negative space at the joint”) instead of “make it pop.” The stencil is the last non-permanent check for size, angle, and flow—speak up before the needle if the piece crowds a crease or sits higher than you imagined. The artist owns the technical redraw: spacing, contrast, anatomy, and stencil construction. Your job is clear priorities, not micromanaging every millimetre. Aftercare and session planning matter, but they sit downstream of a design you have already approved on the body.
Pros:
- Personal fit to body, story, and existing work
- Room to solve cover-ups and awkward anatomy
Cons:
- Needs a clearer brief and usually more lead time than flash
- Revisions still require decisive feedback, not endless clones
Protect the vision by approving direction, not by demanding a screen-perfect clone of a reference. If two revision rounds still feel off, pause and restate the must-keeps rather than requesting twenty tiny variants. Collaboration works when you defend meaning and placement while trusting craft on line weight and stencil construction. Deposit policies and booking timelines vary by shop—ask early so lead time does not surprise you after you fall in love with a draft. Bring your two contrasting concepts to the consult already labeled; comparing directions in person is faster than emailing another dozen near-clones overnight.
Explore Flat Concepts in MyClaw’s Tattoo Generator
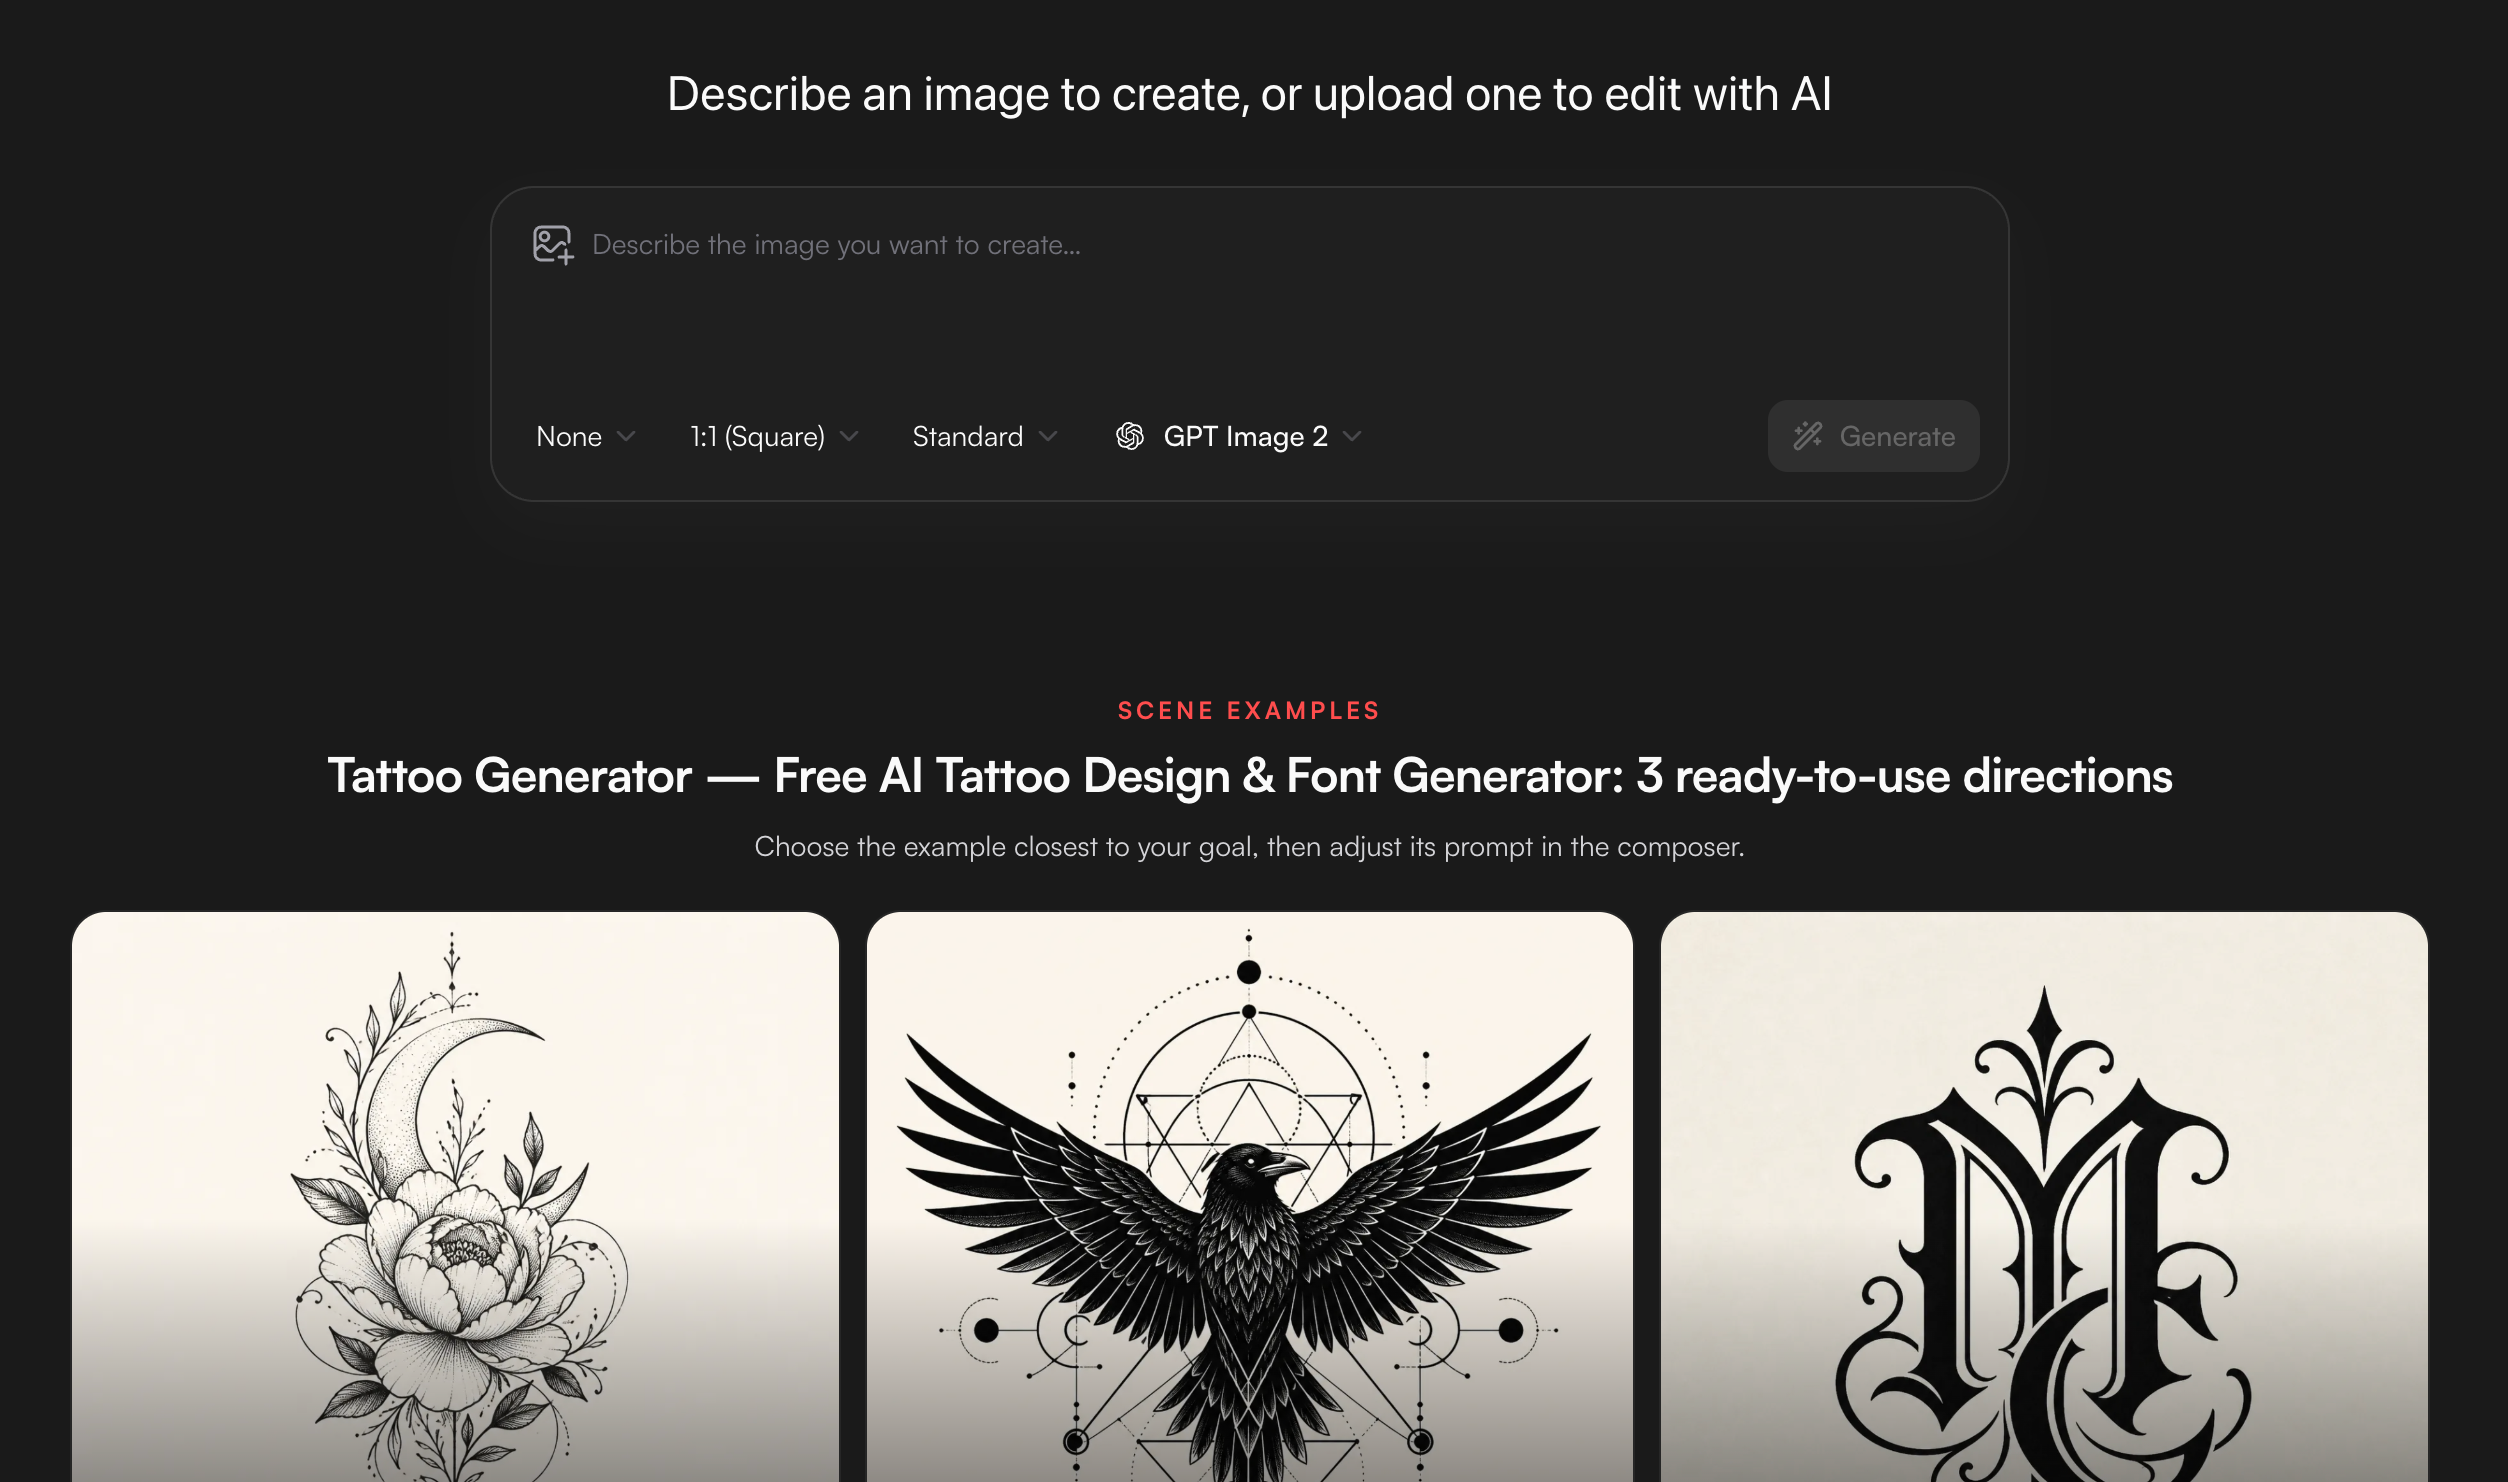
Optionally explore a few flat concepts in MyClaw’s Tattoo Generator—keep it light; your brief and artist still lead. Outputs are concept and inspiration, not a verified body fit or ready stencil.
1. Open the Generator with Your Brief: Subject, style, placement, size—one prompt; flat art on a light background.
2. Tweak One Variable and Keep Clear Winners: Change motif, style, or placement alone; drop anything that muddies when small.
3. Save Favorites for Your Artist: Export a few distinct options with size and placement notes; the artist redraws the final.
For another model temperament while sketching, GPT Image 2 is optional reading—same rule: concept first, professional redraw next.
Choose a Custom Direction You Can Live With
Lock the brief, explore two contrasting concepts, and approve with an artist—not the feed. Keep one personal direction and one cleaner alternate so you can compare fit, not scroll forever. If you want a quick concept pass first, try a few flat options in the Tattoo Generator, then book the professional redraw. The custom tattoo design worth wearing still feels like yours when the novelty of the mock is gone.
Skip the Setup, Run Best-in-Class AI Agents Now
Launch a managed OpenClaw or Hermes Agent workspace in minutes, with always-on hosting, updates, and support handled by MyClaw.